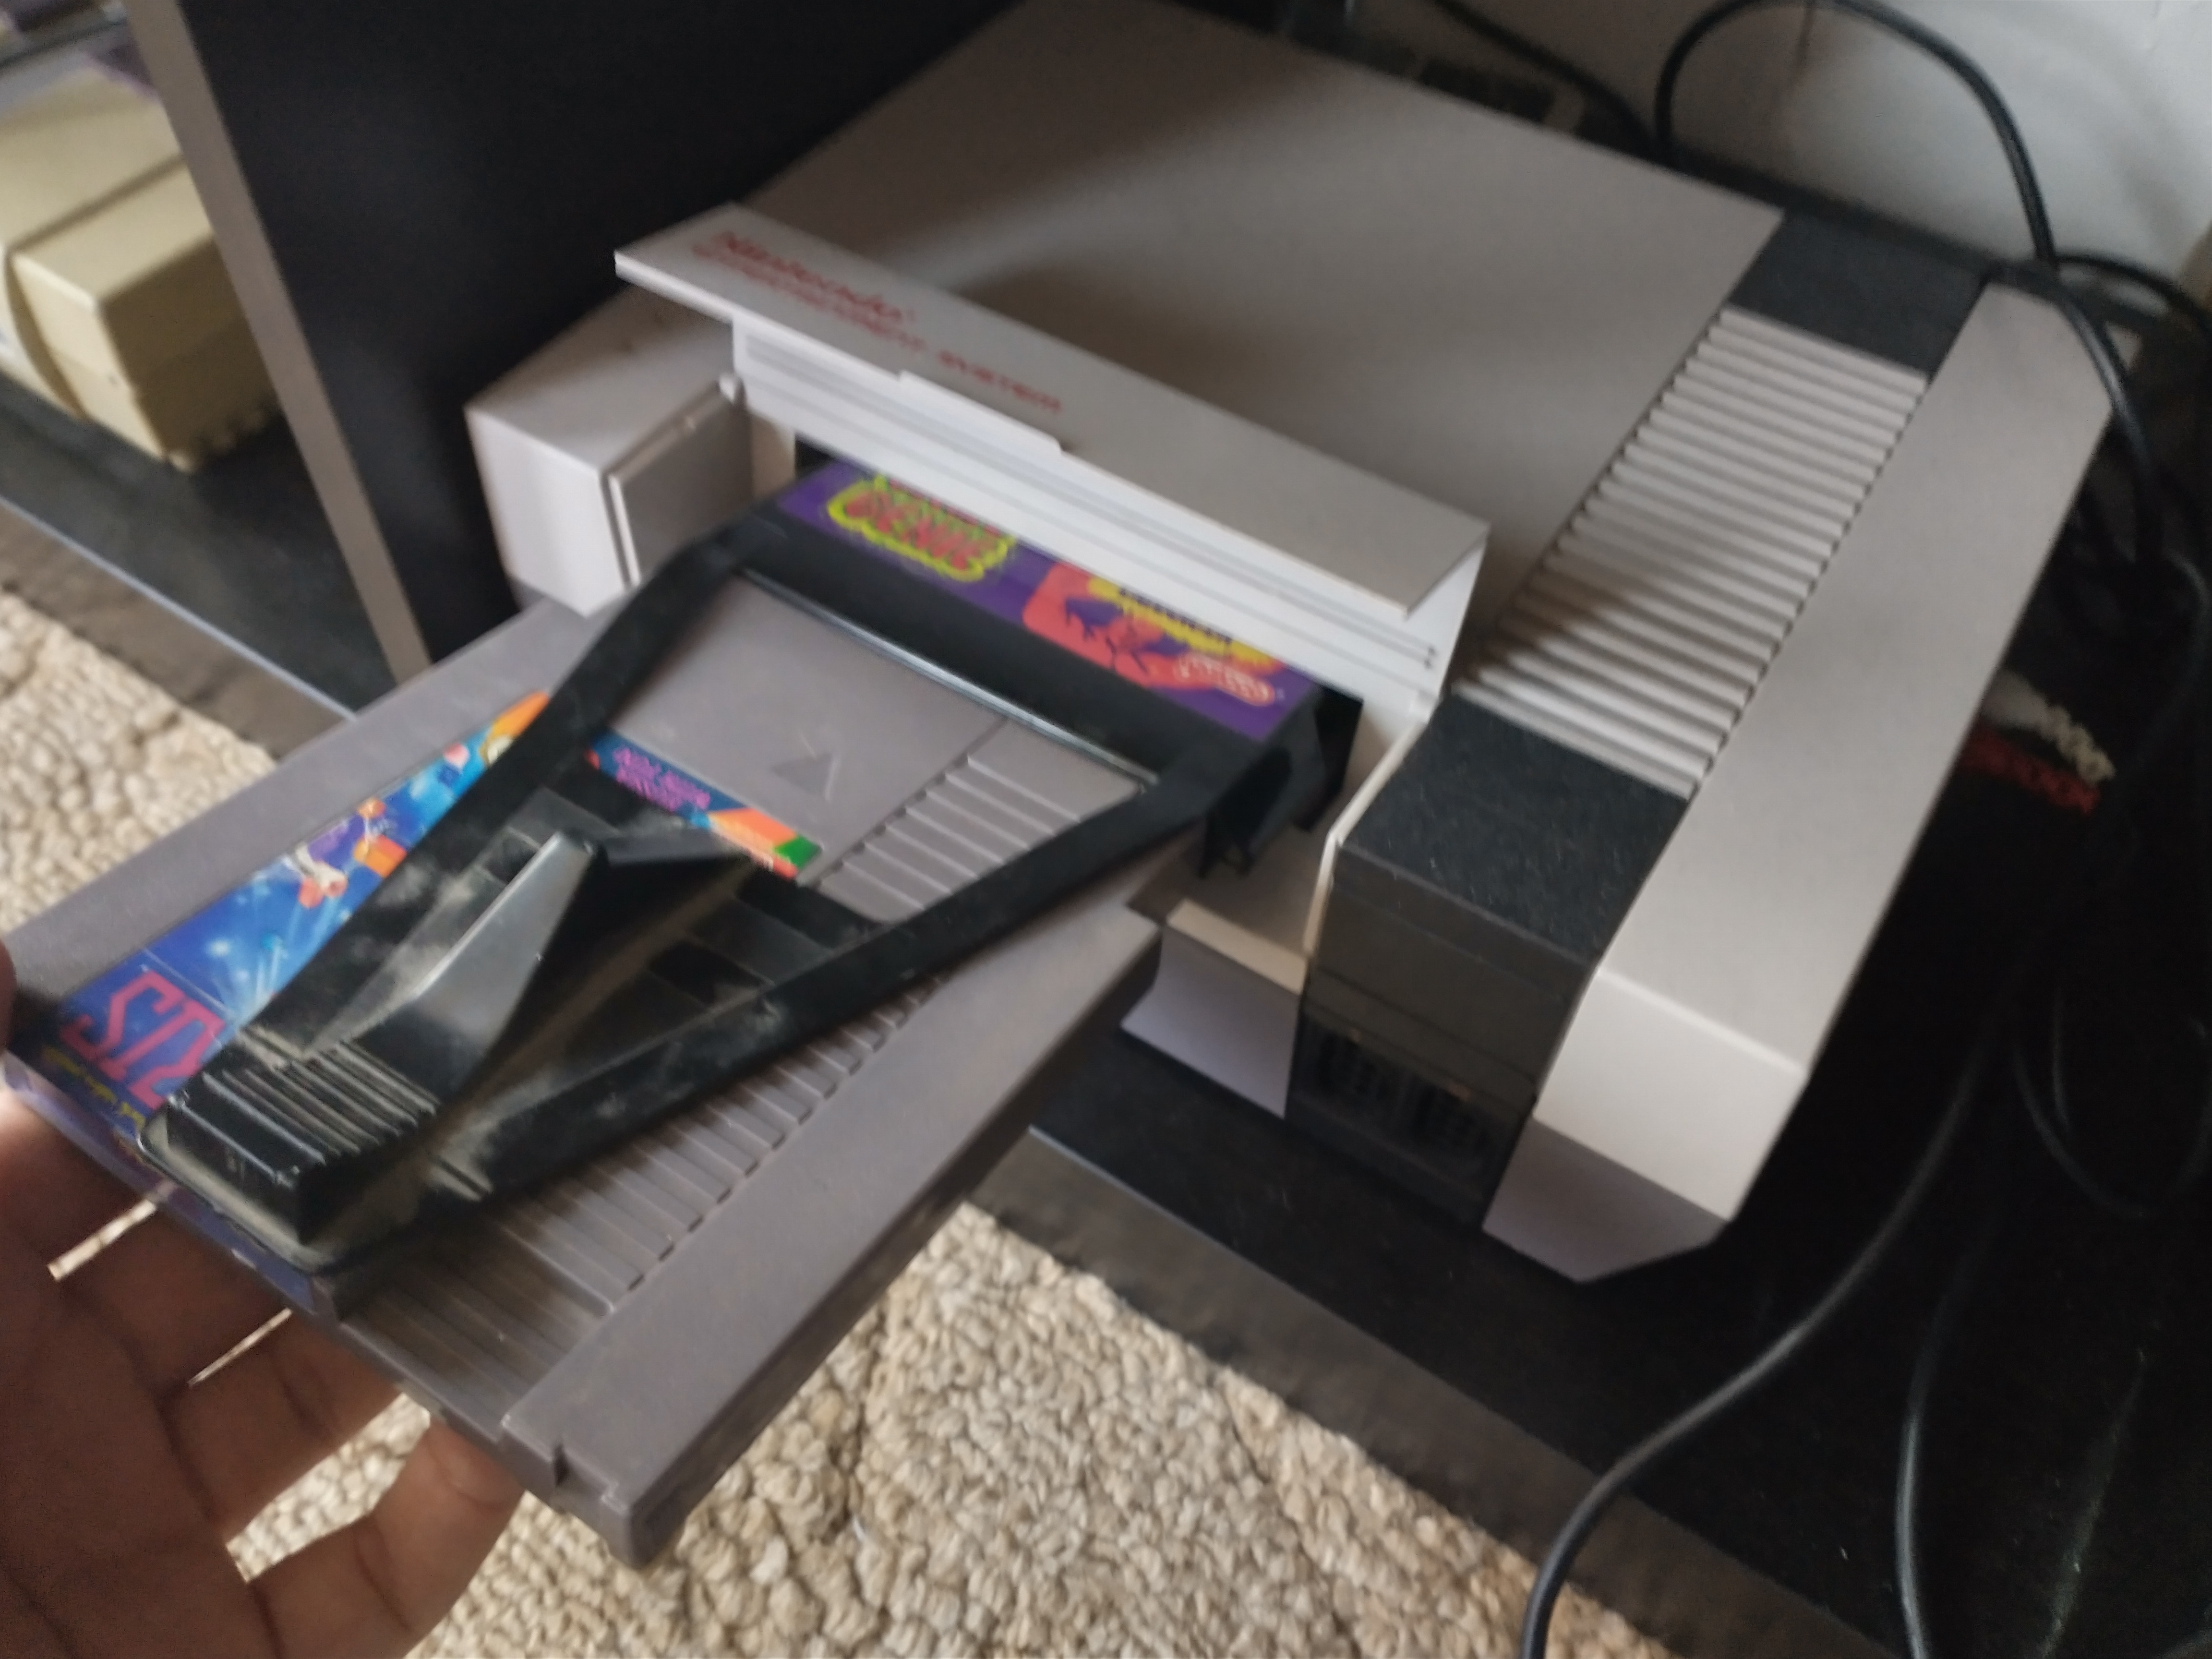
I have spent a considerable amount of time digging into how the Game Genie (specifically the variant for the Nintendo Entertainment System) works. This page attempts to document all that I have found. If you are reading this and you have questions (background knowledge you don't have, details I glossed over, anything else) I'd love if you reach out to me. My contact info is on the homepage of this site. Now let's get into it.
Part 1: What is the Game Genie?
The Game Genie is a device used with any game on the NES to change behavior of the game. The device goes in between the game and console, and ultimately interrupts communication between the two devices. When the console requests the information from the game, the Game Genie chooses whether to allow the game to respond, or whether to inject its own data.

When you bought the Game Genie, it came with a book which was a giant list of codes. By punching those codes into the Game Genie, you can change the behavior of the game. Many of these codes were marketed as "cheats" to make games easier.
In the book, they list many of the most popular games for the NES; generally the number of codes they give you are proportional to the popularity of the game.
I've found that the book does not appear to be available online in PDF format. Therefore, I have scanned the book and uploaded the PDF here:
Part 2: How the NES handles data
The NES is based on the classic 6502 CPU, used in many classic computers of the 80s including the Apple II, Commodore 64, and even the Atari 2600. This CPU is extremely simple. We can see all of its pins in Figure 2.
Please note that the CPU inside the NES is not technically a 6502 - it's a custom variant known as the 2A03, which also has some fancier features related to generating sounds and handling the controllers. But for the sake of this discussion, we'll be talking about it like a normal 6502.
Now, if you look at the lower half of the CPU, you can see the vast majority of the pins are labeled with A#, or D#. These are the address and data pins of the CPU. The other pins at the top are very important for the CPU, but we'll ignore those for now. The CPU's capabilities are very limited, but they're enough to do useful computation. All the CPU can do is request data to save into its single byte of onboard memory, do work with that onboard memory, and report data back out of that memory. The way it interacts with everything on the outside (the game, the RAM, controllers, etc) is through those address and data pins. There are 16 address lines which are viewed from a binary perspective. The address lines communicate to all the other chips in the system which data the CPU is interested in interacting with. Then, the CPU uses pin 34, the R/W pin, to indicate if it is reading or writing. If it's reading, then whatever chip is configured to respond will respond on those 8 data pins, with the byte which exists at that address. If the R/W pin is a write, then the device at that address will take the information the CPU spits out of the data lines, and use it as input. For a normal NES game, we'll be READING from the cartridge, and we'll be WRITING to and READING back from the console's onboard RAM.
A quick note of a thing that tripped me up when I was learning about the NES: My knowledge of a modern computer is that when you want to run a program, the program is copied from your hard drive into RAM, and then runs from there, interacting with whatever input and output data exists. The NES is NOT like this. When you're playing the game, data is constantly, actively going between the cartridge and console. Millions of times per second, the CPU is requesting data from the cartridge. If there's a FOR loop in the code which requires looping over something 5 times, the cartridge will be polled 5 separate times and run the same code over and over. The RAM should NEVER hold any of the code for the game - only the data used to hold the current state. I'll be using Super Mario Bros as a good example here: Let's say you're standing under a coin and you press the jump button. The cartridge ROM will say "that means Mario's vertical position should start increasing". Then the CPU will write a new value into the RAM which holds his vertical position. Every frame of the game, the cartridge will re-provide the physics code to keep Mario moving upward. Then when he touches the coin, another value in RAM will be modified to increment the number of coins he holds. Then a line of code in the cartridge will check if he has 100 coins for a 1-up, and if so, the RAM's value holding lives will be incremented as well.
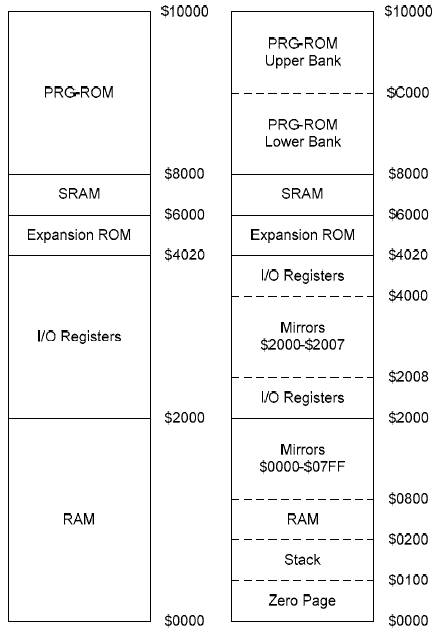
Now that we roughly understand how data gets in and out of the CPU, let's talk a bit about what addresses have what sort of data. For that, we use what's called a Memory Map, and it basically tells us what devices are wired up to listen to what addresses. See Figure 3.

In this image, we can see an overall picture on the left side, with a finer breakdown on the right. Let's focus on the left side, we don't need the complexity of the right. Throughout this document, you'll see numbers with a dollar sign in front indicating that they are hexadecimal. The 16 bits of the address bus nicely lend themselves to being represented with 4 hex characters. We see that from $0000 to $2000 we have the RAM. Any values you try to read or write to addresses in that range, the RAM will be the chip you're talking to. Then from $2000 to $4020 you have I/O registers which cover the communication with other chips, not treating them as normal memory (remember, the 6502 can only communicate over its address/data busses, it doesn't have any peripheral ports). This range covers the CPU communication with the PPU (Picture Processing Unit - a primitive form of GPU, if you like), and importantly, communication with the controllers which are at $4016 and $4017 for the two players. Next we have Expansion ROM, which as far as I know is not actually used but could have been used for some special games. SRAM refers to the onboard storage on some cartridges for saving your game. And then finally, an entire half of the address space, all the way from $8000 to $FFFF is used for the actual Program ROM, the code on the cartridge.
One thing to be aware of that will come back later: The address space for the ROM is large enough to access 32 kilobytes of program data. That was enough for early NES games like Donkey Kong or Super Mario Bros, but as people got bigger ideas for games like Legend of Zelda, they wanted more space for more data. This led to a practice known as Bank Switching. In Bank Switching, the cartridge has more than 32K of data, split up into chunks. Let's say you have a cartridge which has 64K of data, split into 16 chunks of 4K each. There will be an extra chip (called a "mapper chip") on the circuit board of the cartridge which has some kind of knowledge of game state. At any given time, 8 of those chunks will be accessible to the console within the 32K of addresses it can ask for data in. So this allows you to do things like have each level of a game in its own chunk, and that level data is only available while you're playing that level. The moment you move to the next level, the mapper chip will swap out those chunks of data. Meanwhile the NES CPU has no idea any swapping happened - it's just asking for the level again, but it gets a different result now. Bank switching is a very neat method to squeeze more data into the same address range.
Now we understand a bit about how the system operates and how it accesses data. It's time to focus in on the Game Genie itself.
Part 3: What exactly does the Game Genie do?
When you power on an NES with a game and the Game Genie installed, you're greeted with this screen: